This section describes how the Sonargrah system is setup for the NHibernate project. As a precondition, ensure that NHibernate builds successfully in Visual Studio (or whatever you use for C# development). The tutorial is based on NHibernate master branch, checked out on 2019-02-11.
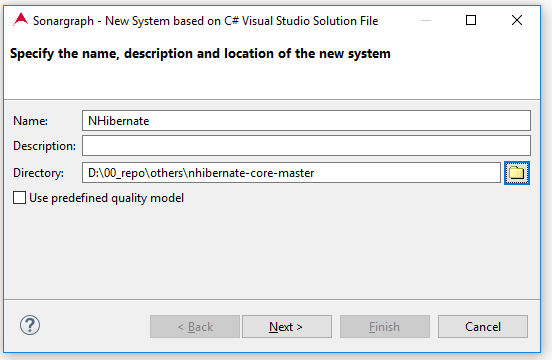
Sonargraph offers to import Microsoft Visual Studio C# Solution files. Select menu → and select the wizard "System based on C# Visual Studio Solution file". Specify the name of the directory of the Sonargraph system and where its files will be stored. It is a best practice to store the system close to the actual source code and place it under version control. Using a Quality Model is explained in Section 2.6, “Share Results” ; you can leave this option unchecked for now.
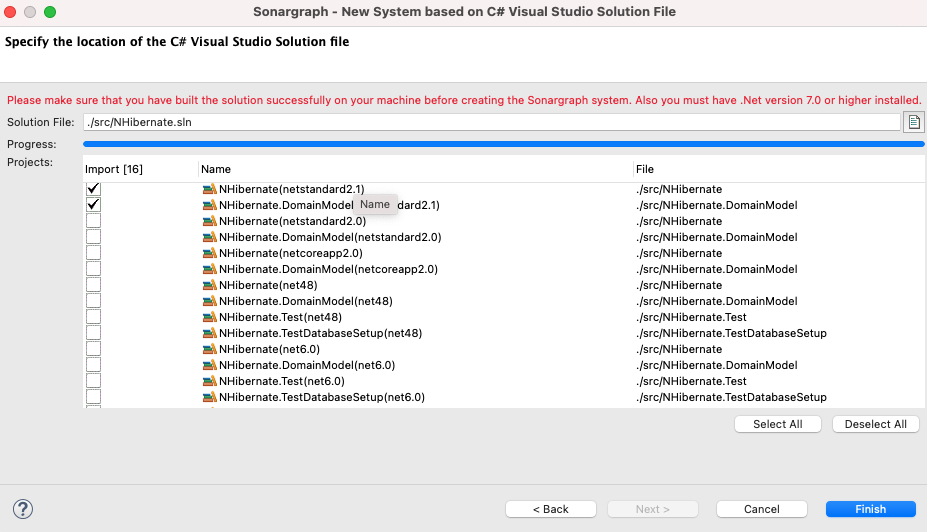
The next wizard page allows to specify the Microsoft Visual Studio Solution file and then lets you pick the modules you want to analyze. If there are different 'flavors' (like 'net6.0) for a module they will all be displayed. If you select am module with a flavor the other choices must be of the same flavor or without a flavor. Before importing the system please make sure that you are able to build the solution on the computer where Sonargraph is running. By the way, you can change the selection of analyzed modules at any time by selecting → → → .
After the system creation was successful, it's now time to execute "refresh" via the second icon in the toolbar or via F5 to start the parsing. After the parser finished it is a good idea to check the "C# Parser Log" via "Windows / Show View / C# Parser Log". It contains the error messages of the Roslyn parser that is used for the analysis. If you see a lot of errors there it probably means that not all references could be resolved successfully. Even if there are many errors you can still work with Sonargraph. It just means that a couple dependencies were not resolved properly.
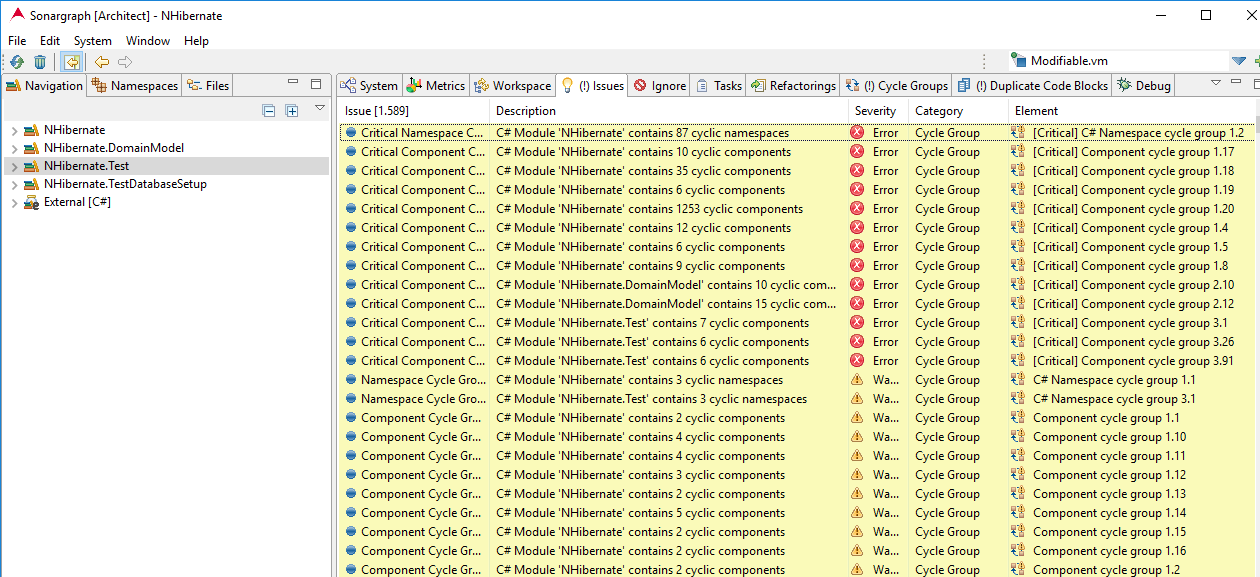
The next step is to open the Issues view and examine the detected cycle groups and duplicate code block issues.
Related topics:


